

How to Use MiniMax H3 Image for Product Photography
on 8 days ago
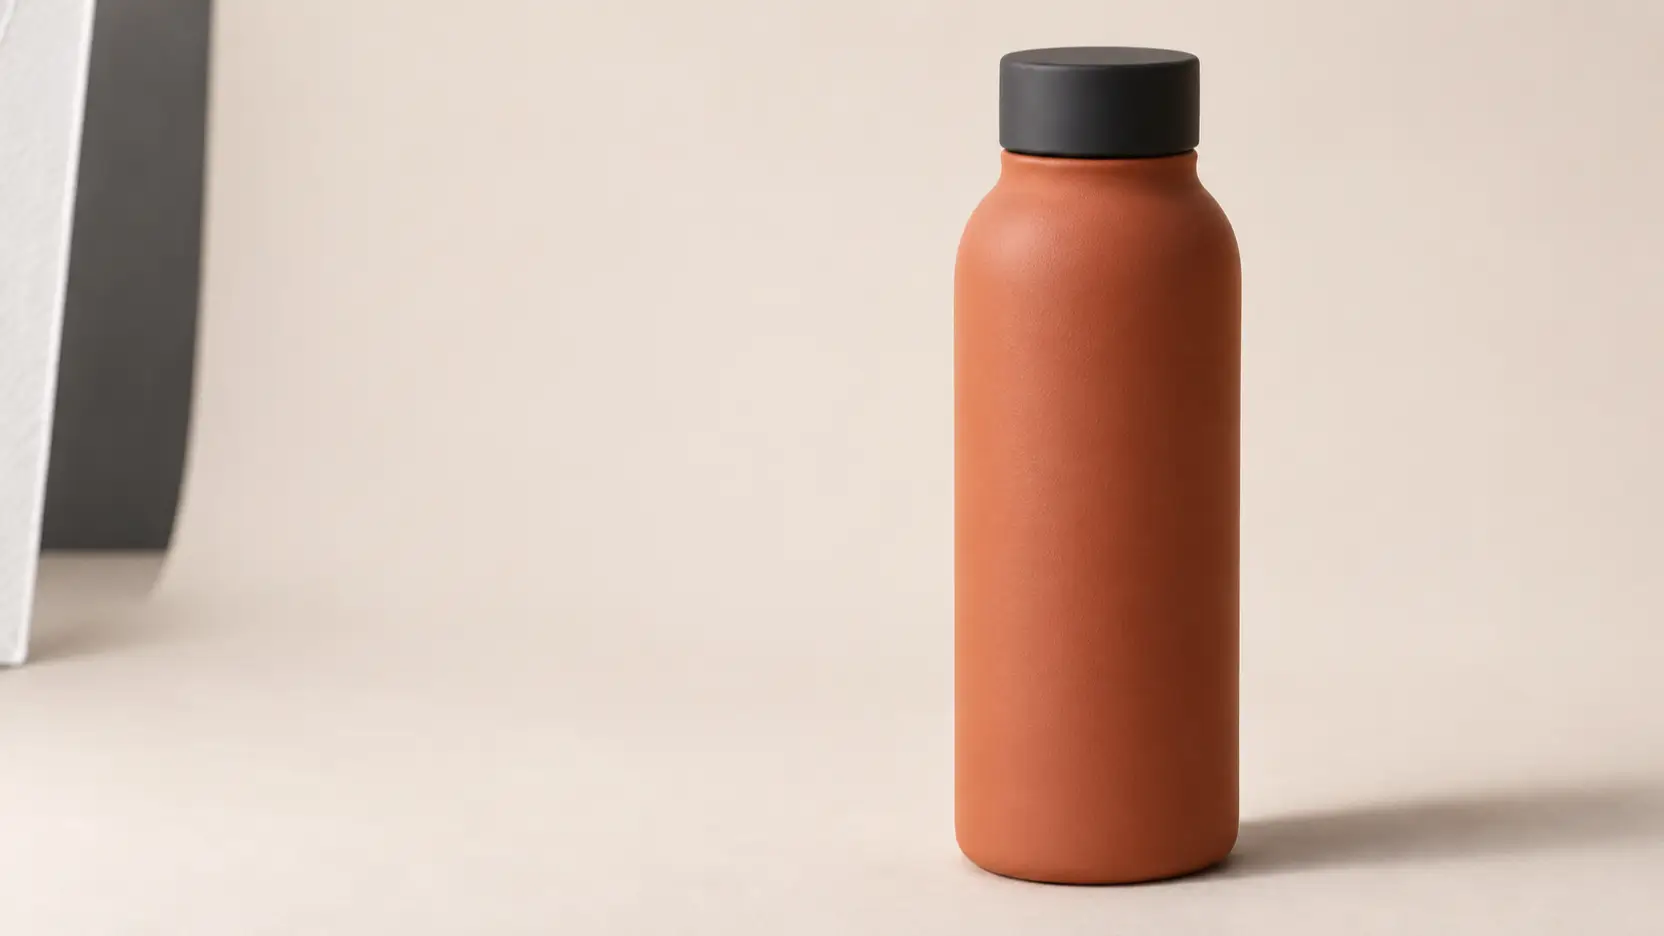
MiniMax H3 Image product photography starts with a clear photograph of the item you actually sell. Use that image to explore a different background, lighting setup, or campaign composition, then check the result against the original. A beautiful picture is only useful if shoppers still see the correct product.
A matte terracotta bottle serves as the worked prompt example throughout this guide. The prompts are adaptable examples, and the illustrations are generated concepts, not H3 Image test results. Model details were checked against official documentation on November 12, 2026.
What you need for MiniMax H3 Image product photography
MiniMax's official H3 Image model card describes text-to-image generation and editing from reference images. It links to hosted apps and the MiniMax API, as well as local deployment instructions. This walkthrough uses the hosted editing workflow; it does not require downloading model weights.
Prepare a sharp product photograph, a short shot brief, and access to a service explicitly offering MiniMax-H3-Image. Confirm the model name before generating: a generic H3 label is not enough to identify the image model. API users also need a MiniMax API key and account balance.
Choose image editing for an existing SKU. Text-to-image is useful for exploring an imaginary bottle or a backdrop concept, but a written description cannot document every detail of your physical item. If you also use Shotyard, check Shotyard pricing separately when budgeting. Its plans should not be treated as MiniMax direct API rates.
Prepare reference images and a focused shot brief
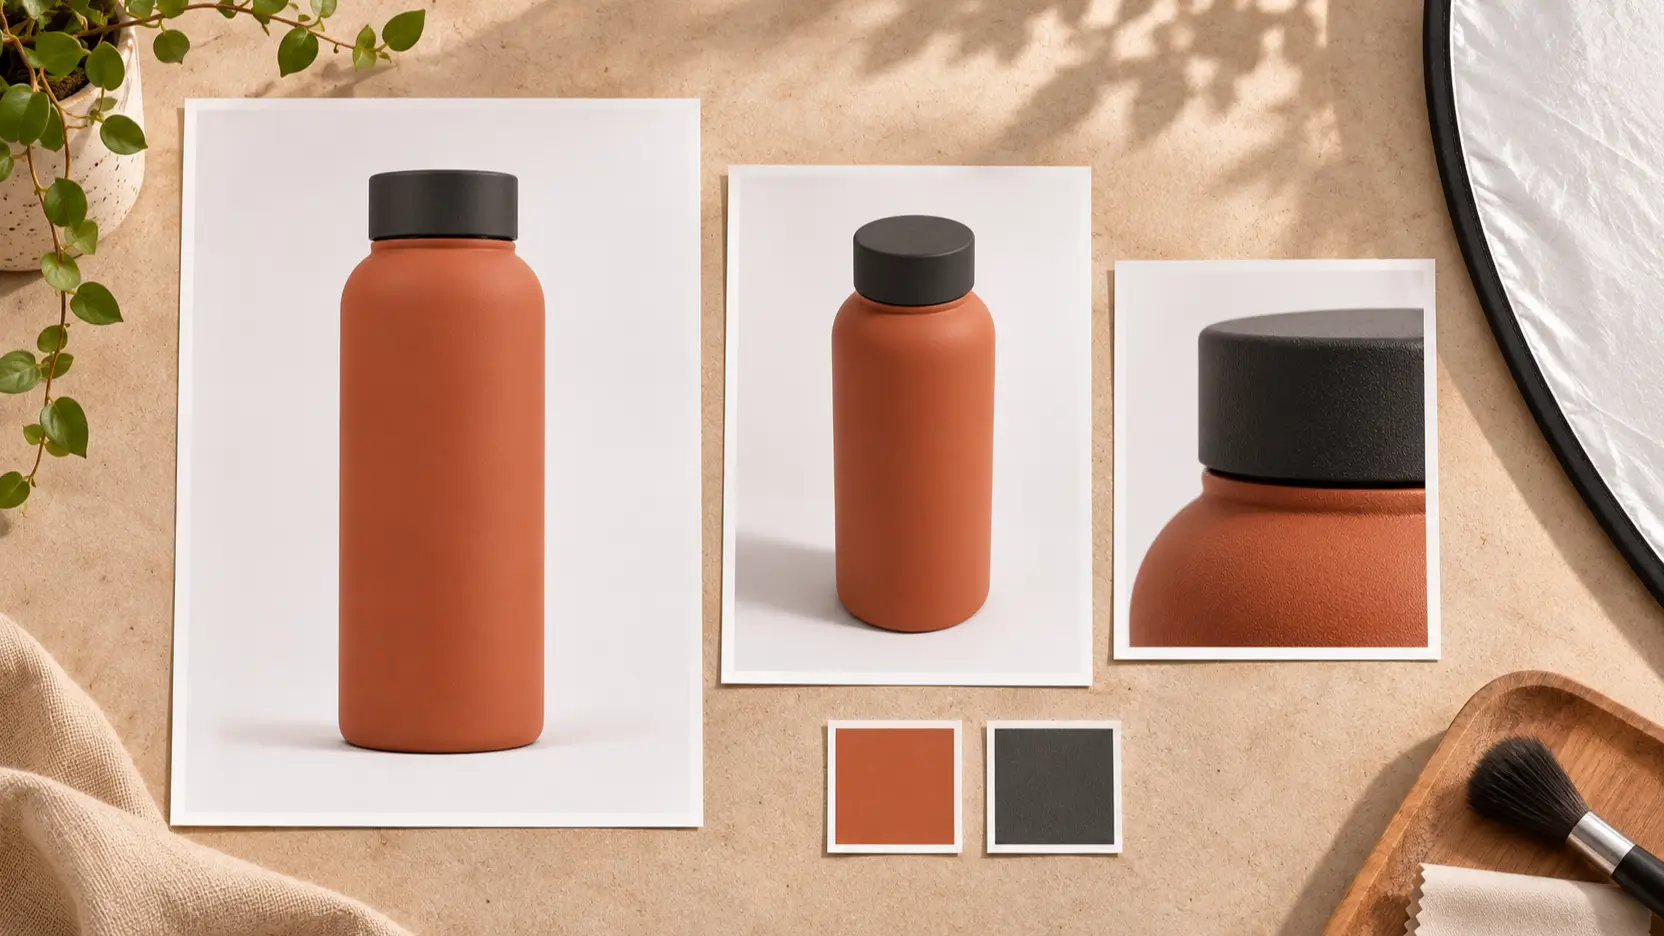
For AI product photography, start with a photograph that makes the item easy to inspect. Keep the whole item visible, avoid a glare stripe across its label, and use even lighting. Select the angle you want the final picture to retain. A front photograph gives the model little evidence about details hidden on the back.
Use additional reference images only when they clarify something. A close view can show a cap seam; another angle can explain a handle. State each image's role in the prompt. If one reference has an older label or a different cap, remove it rather than asking the model to resolve the conflict.
Write down the features that cannot change: silhouette, cap shape, label position, color, material, and included accessories. For the bottle example, specify a cylindrical terracotta body, flat charcoal cap, and matte coating. Then describe the editable setting: pale stone surface, soft light from the left, and empty space for advertising copy.
Keep props purposeful. A towel may suit a bathroom scene, but unrelated objects can distract from the product or imply that accessories are included. Your brief should make that distinction before generation.
Create the product photo in five steps
1. Open the correct model and editing mode.
Follow an access link from the model card and confirm that the selected service offers H3 Image editing. Interface labels vary, so look for a reference-image upload and an edit prompt rather than relying on a particular button name. The hosted API uses POST /v1/images/edits; authenticate with your own API key.
2. Add the primary product reference.
Upload your cleanest product photograph first. MiniMax's image generation guide documents support for one to sixteen references. Starting with one makes it easier to judge whether the result follows your intended angle and proportions. Add another only to address a specific ambiguity.
3. Describe a single shot.
Effective product photo prompts separate product identity from styling. Try this example, replacing the bottle details with your actual item:
Use the bottle in image 1 as the product reference. Preserve its cylindrical silhouette, flat charcoal cap, terracotta color, and matte coating. Place it upright on a pale warm stone surface against an off-white background. Keep the original camera angle. Light it softly from the left, with a gentle contact shadow to the right. Leave clear space on the left for campaign copy. Show only the bottle, with no added text or props.
These preservation instructions express your requirements; they do not guarantee unchanged pixels. Avoid combining several camera angles or incompatible lighting directions in one request.
4. Set the frame and generate one candidate.
Choose a square frame for a square placement or a wide frame for a banner. For an API workflow, the following JSON illustrates the body of an edit request. Replace the reference URL with an accessible image you control and adapt the prompt:
{
  "model": "MiniMax-H3-Image",
  "images": [{"image_url": "https://example.com/your-product.jpg"}],
  "prompt": "Keep the bottle in image 1 unchanged. Replace the setting with a warm off-white studio background and soft light from the left.",
  "size": "1600x900",
  "n": 1,
  "output_format": "png",
  "response_format": "url"
}
This is an illustrative request, not a tested output. The official image-edit reference documents these fields. When specifying exact dimensions through size, omit aspect_ratio and area. Check the returned result for an image URL or error, then download the successful file.
5. Revise one variable at a time.
If the bottle looks correct but the scene is too busy, simplify the background while keeping the product instructions. If the cap changes shape, return to the original reference and narrow the request. Changing the background, lens angle, materials, and lighting together makes it harder to identify what caused a problem.
Save the original reference, prompt, returned image, and revision notes. Hosted edits apply prompt enhancement; inspect revised_prompt when your integration exposes it. This helps you see how the request was interpreted, without assuming that repeating a prompt will reproduce identical pixels.
Check product image quality before exporting
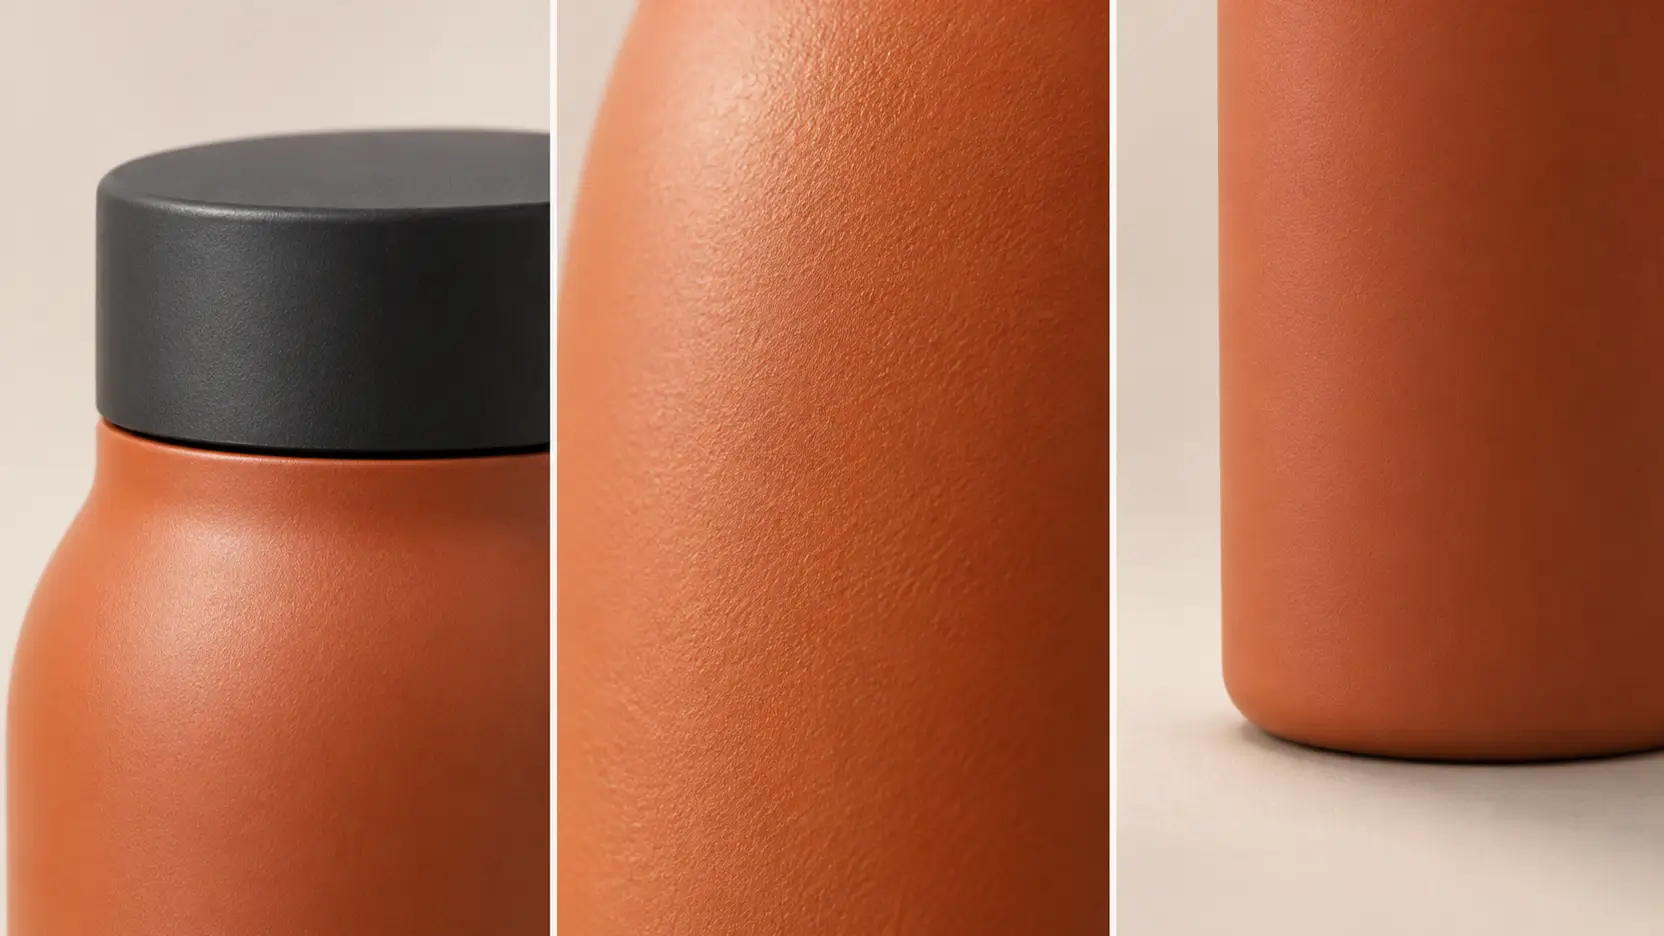
Compare the candidate with the original at full size. First inspect the silhouette, cap, openings, and seams. Then read every visible character and compare label placement. Finally examine reflections, texture, and the shadow where the product meets the surface.
A convincing scene can hide a changed detail. A matte bottle should not acquire a glossy band that suggests a different finish. Reject an invented accessory or a stretched label even if the overall composition is attractive. For features that must match exactly, consider retaining the original product pixels and compositing them onto a separately prepared background.
Check the image again at its actual display size. Leave room around the cap and base, and preview the crop used by your store or ad placement. Keep an approved master, then export a compressed delivery copy and inspect it for halos or muddy edges.
You can adapt the same shot brief for related work in Shotyard’s creation workspace. Check its current model selection before starting; H3 Image access described here is through MiniMax’s documented services.
FAQ
Do I need a reference photo for every product?
Use one for each real product or variant whose appearance must be accurate. A text prompt can describe a generic object, but it cannot prove the shape, shade, or label of your SKU. Review each variant separately rather than assuming a successful bottle image transfers to the whole catalog.
Can MiniMax H3 Image preserve logos and packaging text exactly?
Do not treat exact preservation as guaranteed. Supply a readable reference, ask for unchanged lettering, and compare the result character by character. If essential text changes, use the original packaging artwork or product cutout during final composition instead of approving an approximate label.
Can I request a transparent background or a masked edit?
MiniMax's hosted guide lists transparent backgrounds and masked edits as unsupported. Request a simple solid background, then use a separate background-removal or compositing tool if needed. A PNG file can still have an opaque background; its format alone does not establish transparency.
Conclusion
Make MiniMax H3 Image product photography easier to review: start with a reliable reference, request one clear shot, and compare the shape, finish, and packaging before using the image. Approve a single product view first. Once it passes review, reuse the brief for the next setting and repeat the same checks.